
Industrial Mini PC vs. Consumer Mini PC: Why “Rugged” Matters
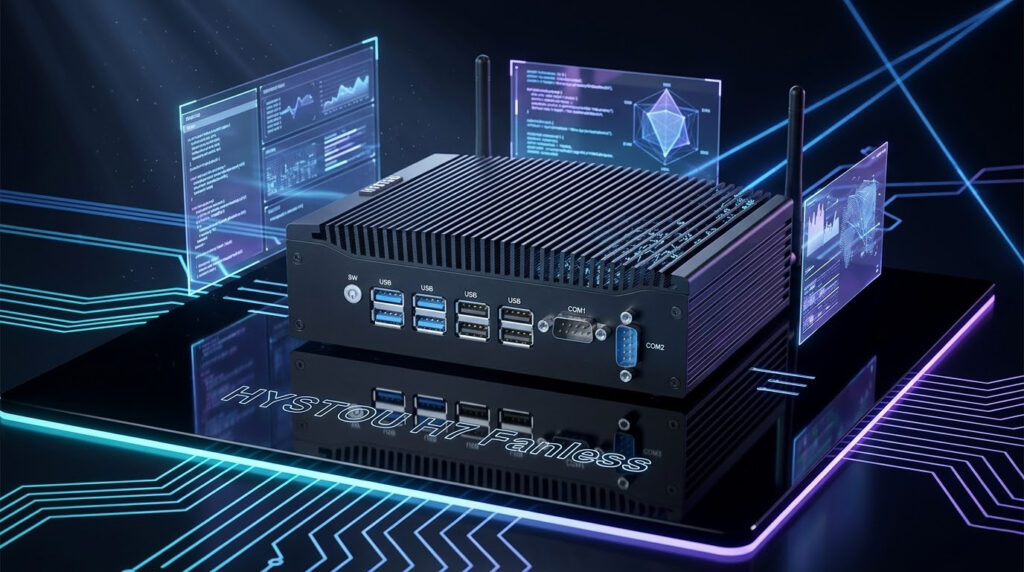
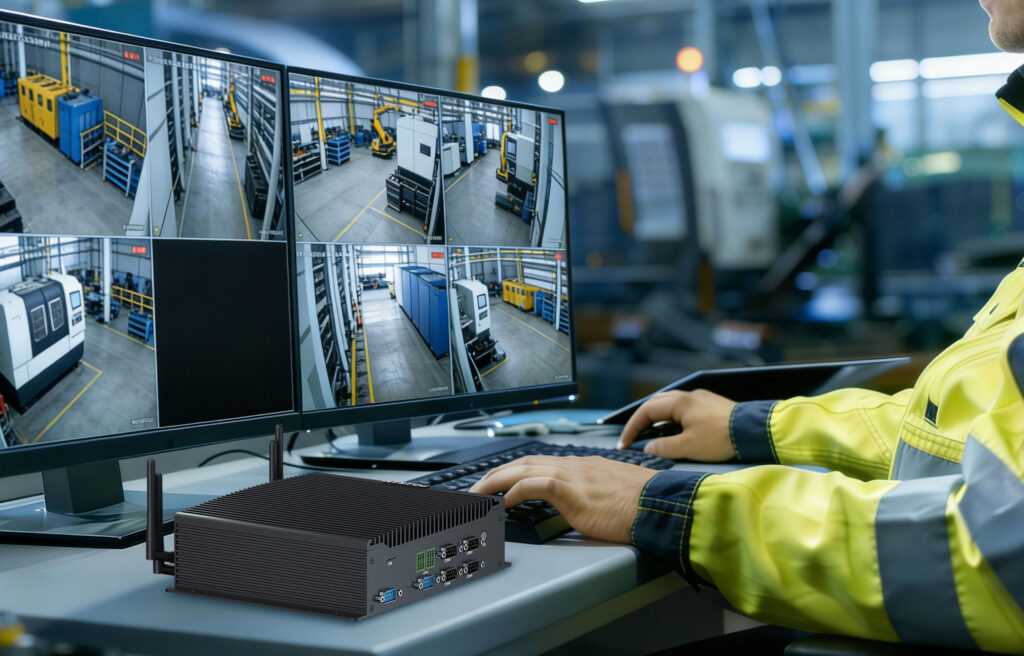
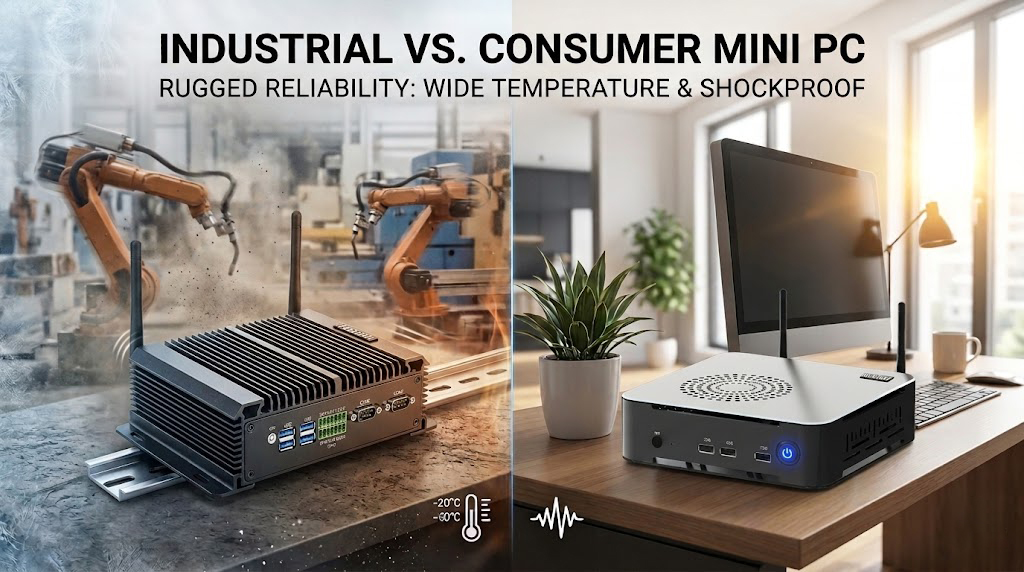
Industrial Mini PC vs. Consumer Mini PC: Why “Rugged” Matters Announcements Buyer Guide Comprehensive Tips Occasion Product Review Q&A Tutorials When choosing a compact computer, many users wonder if a standard home-office mini PC can handle industrial tasks. While they may look similar, the internal engineering is worlds apart. For businesses operating in factories, outdoor kiosks, or transport systems, the choice between an industrial mini PC and a consumer mini PC can be the difference between steady uptime and costly failure. 1. Wide Temperature Support: Beyond the Air-Conditioned Office Standard consumer mini PCs are designed for comfortable, climate-controlled environments (usually 0°C to 35°C). If the room gets too hot, the system slows down or shuts off to prevent damage. In contrast, a wide temperature industrial mini PC is built to survive extremes. Operating Range: Most industrial models operate flawlessly from -20°C to 60°C (some even wider). Industrial-Grade Components: These PCs use high-quality capacitors and solid-state parts that don’t degrade under thermal stress. Application: This is vital for outdoor digital signage, oil rigs, or cold storage warehouses. 2. Shockproof and Anti-Vibration Design Vibration is a “silent killer” for standard electronics. A regular mini PC uses mounting brackets and internal connections that can loosen over time if exposed to constant movement. An anti-vibration industrial PC is engineered for stability: Cable-Free Internal Design: Many rugged PCs use “all-on-board” designs, meaning there are no loose cables to unplug during shakes. Shock Resistance: They are often tested to military standards (like MIL-STD-810G) to withstand sudden impacts. SSD-Only Storage: By using Solid State Drives (SSD) instead of traditional spinning hard drives, these machines have no moving parts to break during transport or machine operation. 3. Fanless Cooling and Dust Protection Most consumer PCs use fans to stay cool. However, fans are a point of failure. They suck in dust, which eventually clogs the system and causes overheating. Industrial fanless mini PCs use their outer casing as a giant heat sink. Protection: Because the chassis is sealed, dust, metal filings, and moisture cannot enter. Reliability: No moving fans mean the PC can run 24/7 for years without maintenance. Comparison Table: At a Glance Feature Consumer Mini PC Industrial Mini PC Operating Temp 0°C to 35°C -20°C to 70°C+ Cooling Active Fan (Dust prone) Fanless (Sealed & Silent) Vibration Low (Desktop use) High (Anti-vibration/Shockproof) Durability Plastic/Thin Metal Rugged Aluminum/Steel Alloy Lifespan 1–3 years 5–10 years Availability Changes every 6 months Long-term supply (5+ years) Which One Do You Need? If you are working in a clean office or a home studio, a consumer mini PC is a cost-effective choice. However, if your project involves factory automation, vehicle integration, or extreme weather, investing in a rugged industrial mini PC is a necessity. Choosing a device with wide temperature support and shockproof capabilities ensures your data stays safe and your operations never stop. HYSTOU HYSTOU has established its R&D headquarters in Shenzhen, drawing on over a decade of experience. Our core team members, who previously served at renowned companies such as Inventec and Quanta Computer, form the backbone of our technical expertise. With robust R&D and innovation capabilities, we remain steadfast in our commitment to pursuing excellence in the field of technology products. Facebook Twitter Youtube Tumblr
Industrial Mini PC vs. Consumer Mini PC: Why “Rugged” Matters Read More »