
Why 10GbE Edge Network Appliances Are Becoming Essential in 2026
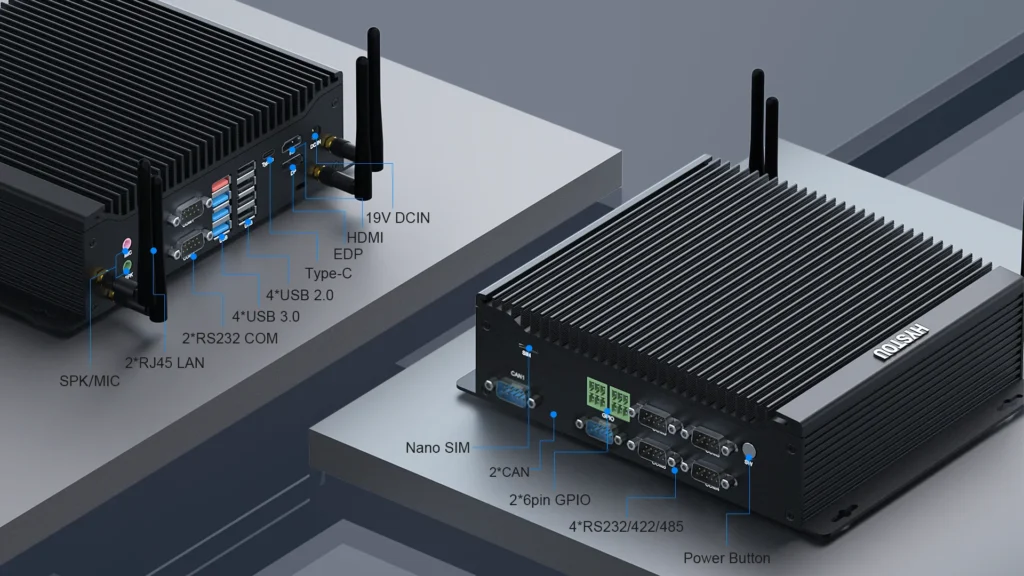
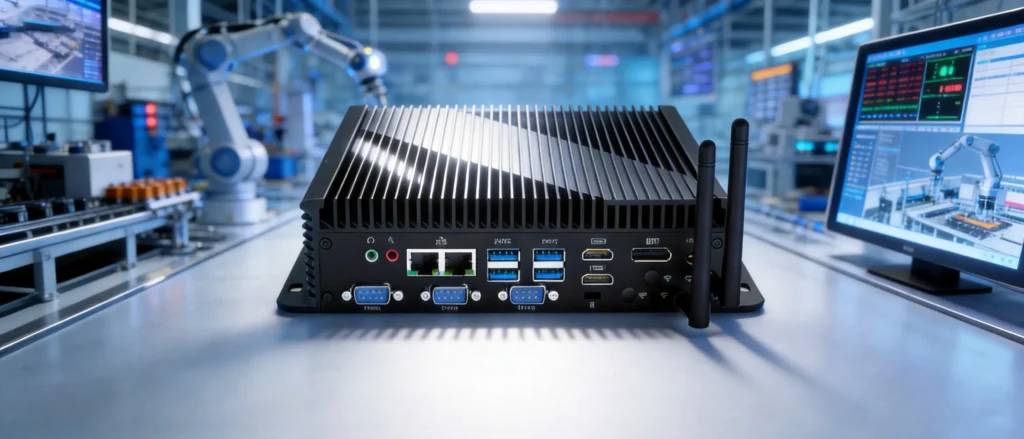
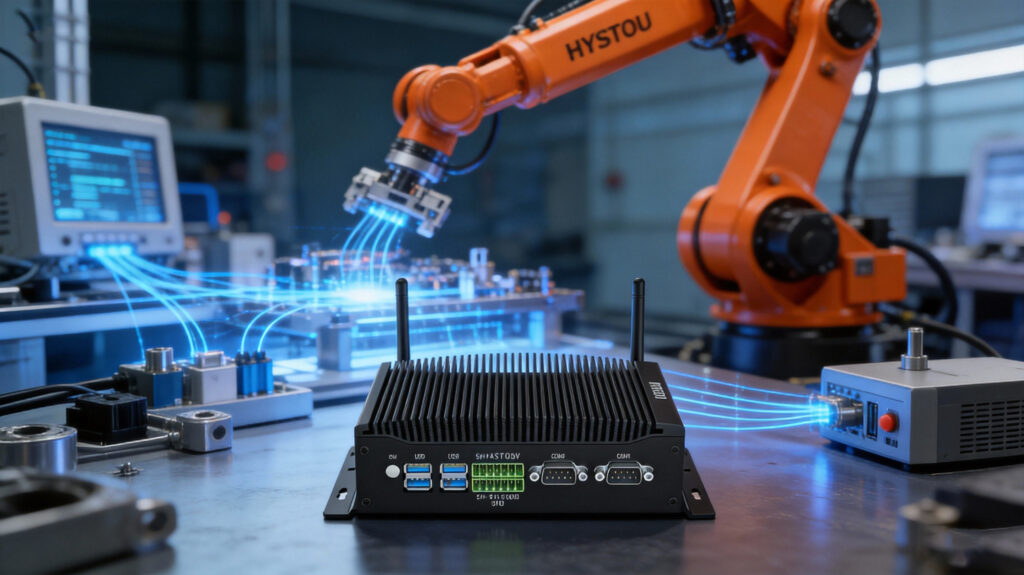
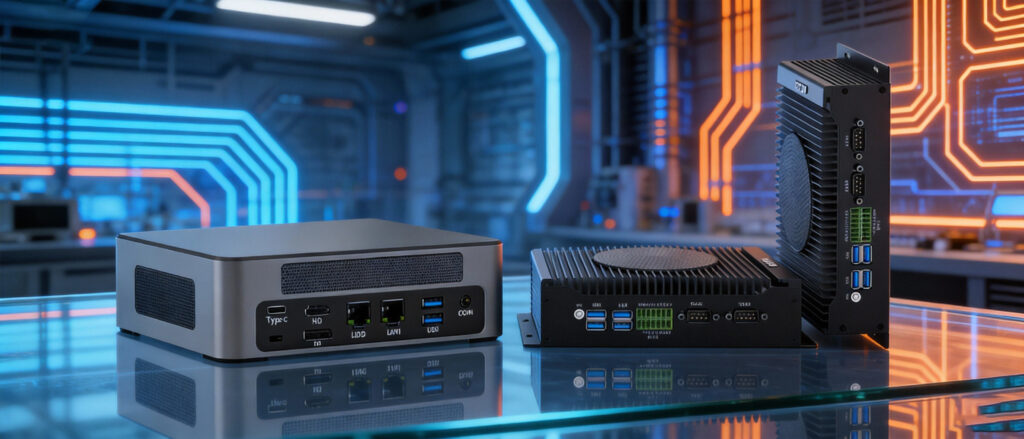
Why 10GbE Edge Network Appliances Are Becoming Essential in 2026 Announcements Buyer Guide Comprehensive Tips Occasion Product Review Q&A Tutorials The digital infrastructure landscape is evolving faster than ever. As businesses continue adopting cloud services, artificial intelligence, industrial IoT systems, and high-bandwidth applications, traditional network appliances are increasingly struggling to keep pace. For years, 1GbE networking was sufficient for most organizations. Today, however, data volumes, edge computing workloads, and security requirements have grown dramatically. Enterprises need faster, smarter, and more scalable infrastructure that can process and secure data closer to where it is generated. This shift is driving the rapid adoption of 10GbE edge network appliances. In 2026, organizations across industries are upgrading their network infrastructure to support higher throughput, lower latency, enhanced cybersecurity, and future-ready connectivity. Whether deployed as a firewall, VPN gateway, SD-WAN appliance, industrial gateway, or edge computing platform, modern 10GbE network appliances are becoming a critical component of digital transformation strategies. The Growing Demand for High-Speed Edge Infrastructure Modern businesses generate significantly more data than they did just a few years ago. Several technology trends are contributing to this growth: Artificial Intelligence Applications AI-powered analytics platforms process massive amounts of real-time information. Video analysis, predictive maintenance systems, machine vision, and edge AI deployments all require fast local processing and network connectivity. Industrial Internet of Things (IIoT) Manufacturing facilities, energy systems, transportation networks, and smart factories are deploying thousands of connected devices. Sensors continuously transmit operational data that must be analyzed quickly and securely. High-Resolution Video Surveillance Organizations increasingly rely on 4K and even 8K surveillance systems. These cameras generate enormous amounts of traffic that can quickly saturate traditional 1GbE infrastructure. Hybrid Work Environments Remote access, VPN traffic, cloud applications, and distributed workforces have dramatically increased network utilization across many industries. As a result, businesses are discovering that legacy networking equipment often becomes a bottleneck that limits performance and scalability. Why 1GbE Infrastructure Is No Longer Enough For many years, Gigabit Ethernet represented the standard for enterprise networking. However, several limitations are becoming apparent. Bandwidth Constraints A single modern application can consume substantial bandwidth. When multiple services compete for network resources, congestion becomes inevitable. Increased Latency As traffic volumes rise, delays increase. Latency can negatively affect: Real-time analytics Video streaming Industrial automation AI inference workloads VoIP communications Security Inspection Challenges Modern cybersecurity solutions require deep packet inspection, intrusion detection, traffic analysis, and encrypted traffic processing. These security functions demand significantly more computing resources than older firewall architectures were designed to handle. Limited Future Scalability Organizations investing in new infrastructure today must ensure their systems remain relevant for years to come. Deploying only 1GbE connectivity may create expensive upgrade requirements later. Consequently, many IT teams are skipping incremental upgrades and moving directly toward 2.5GbE and 10GbE architectures. The Rise of 2.5GbE and 10GbE Networking The networking industry is experiencing a major transition. Rather than relying solely on 1GbE connections, businesses are increasingly adopting mixed-speed environments that combine: 1GbE 2.5GbE 5GbE 10GbE This approach offers both flexibility and future scalability. Why 2.5GbE Has Become Popular 2.5GbE provides a cost-effective upgrade path while utilizing existing cabling infrastructure in many environments. Benefits include: Higher throughput Lower latency Improved wireless backhaul performance Better support for modern endpoints Why 10GbE Is Becoming the New Backbone 10GbE enables organizations to handle significantly larger traffic volumes without introducing network bottlenecks. Common use cases include: Data center connectivity Edge AI deployments Industrial computing Storage networking Security appliances Virtualization platforms As hardware costs continue to decline, 10GbE adoption is accelerating across both enterprise and industrial environments. Edge Computing Is Driving Network Modernization Cloud computing transformed IT infrastructure over the past decade. However, many organizations are now recognizing that sending every workload to centralized cloud environments is not always practical. This realization has accelerated the growth of edge computing. What Is Edge Computing? Edge computing places processing resources closer to where data is generated. Instead of sending information to distant cloud servers, edge systems perform computation locally. Advantages include: Reduced latency Improved reliability Enhanced security Lower bandwidth costs Faster decision-making Examples of Edge Computing Deployments Smart Manufacturing Factories process machine data locally to improve production efficiency and reduce downtime. Transportation Systems Vehicle networks require real-time processing for safety and operational management. Retail Analytics Stores analyze customer behavior and inventory information at the edge. Security Monitoring Video surveillance systems process footage locally before transmitting selected data to central platforms. All these deployments benefit from high-performance networking capabilities. Why Network Security Appliances Need More Performance Cybersecurity threats continue to increase in sophistication. Organizations are implementing: Next-generation firewalls Intrusion detection systems Intrusion prevention systems Secure VPN gateways Zero Trust architectures SD-WAN platforms These technologies require significantly greater processing power and network bandwidth than traditional firewall solutions. VPN Traffic Growth Remote work remains a permanent reality for many organizations. VPN traffic volumes have increased dramatically, placing additional demands on security appliances. Encrypted Traffic Inspection Most internet traffic is encrypted. Modern security platforms must decrypt, inspect, analyze, and re-encrypt data streams in real time. This process consumes substantial computing resources. East-West Traffic Visibility Organizations increasingly need visibility into internal traffic moving between applications, users, and devices. Multi-LAN architectures provide the segmentation necessary to support these security requirements. Key Features Businesses Should Look For When evaluating modern network appliances, organizations should focus on several critical capabilities. Multi-LAN Connectivity Multiple Ethernet ports enable: Network segmentation VLAN management SD-WAN deployment Traffic isolation Security zoning 10GbE SFP+ Expansion Fiber connectivity supports: High-speed backbone connections Long-distance networking Data center integration Storage networking Modern Intel Processors Efficient processors deliver: Higher throughput Better virtualization support Lower power consumption Enhanced reliability Rackmount Design Rackmount systems offer: Easier deployment Better cooling Improved cable management Greater scalability Remote Management Enterprise deployments benefit from centralized monitoring and management capabilities. Energy Efficiency Modern platforms must balance performance with operational efficiency to reduce long-term costs. Preparing for the Future of Edge Infrastructure The next generation of business applications will place even greater demands on network infrastructure. Emerging technologies include: Edge AI Private 5G networks Industrial
Why 10GbE Edge Network Appliances Are Becoming Essential in 2026 Read More »