

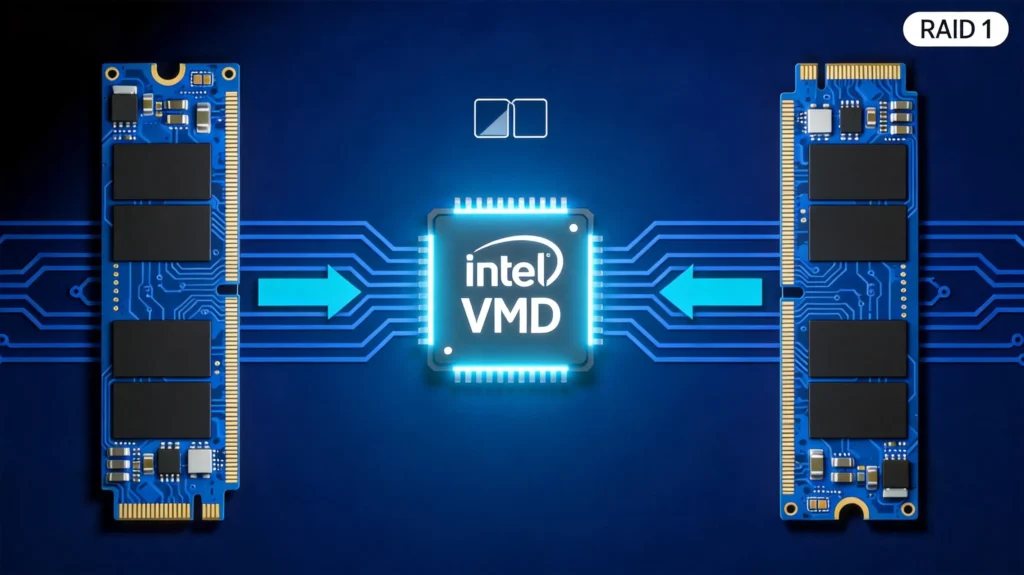
How to Build a RAID 1 Mirrored Array with Intel VMD on a Mini PC
How to Build a RAID 1 Mirrored Array with Intel VMD on a Mini PC Announcements Buyer Guide Comprehensive Tips Occasion Product Review Q&A Tutorials What Is Intel VMD and Why Does It Matter? Intel Volume Management Device (VMD) is a hardware-level storage management technology built directly into Intel processors. In simple terms, it acts as a bridge between your NVMe SSDs and your CPU. Specifically, VMD delivers three key benefits: Benefit What It Means for You Simplified management The operating system loads a single VMD driver. Therefore, it can recognize and manage all NVMe SSDs under the VMD controller — no need to install separate drivers for each drive. Maximized performance NVMe SSDs communicate directly with the CPU through VMD. As a result, this bypasses the traditional chipset or standalone RAID card, which significantly reduces latency and improves I/O throughput. Enhanced reliability VMD isolates disk errors from the operating system. Consequently, it prevents system crashes or blue screens caused by drive failures. This makes it ideal for 24/7 industrial control and edge computing environments. This guide uses RAID 1 for the walkthrough. However, the setup steps are identical for other RAID levels. You only need to select a different level during configuration. What You Need Before You Start Make sure you have everything ready before proceeding. Otherwise, you may run into issues midway. Hardware Requirements A HYSTOU H4 12th Gen mini PC that supports Intel VMD (check that your BIOS includes VMD settings). Two NVMe M.2 SSDs. For best results, use identical brands, models, and capacities. A USB flash drive (FAT32 formatted) for the VMD driver. A Windows 10 or Windows 11 installation USB drive. Critical Warning Setting up RAID will erase all data on both SSDs. Therefore, back up any important files before you continue. This step cannot be undone. Step-by-Step: How to Set Up RAID 1 with Intel VMD Now, let us walk through the entire process. It consists of four main stages. Step 1: Enable Intel VMD in BIOS First, you need to activate the VMD controller in your system BIOS. Power on the mini PC. When the boot logo appears, press the Delete (or Del) key repeatedly and quickly to enter the BIOS Setup. Next, navigate through the following menu path: Chipset → System Agent (SA) Configuration → VMD Setup MenuThen, find the Enable VMD Controller option and change its value to [Enabled]. After that, press F4 on your keyboard. A save-and-exit dialog will appear. Select Yes or OK to confirm. The system will then reboot automatically. Step 2: Create the RAID 1 Volume in BIOS Once the system reboots, you are ready to create the RAID array. Press Del again during boot to re-enter BIOS Setup. Navigate to the Advanced tab. Then, find and open the Intel(R) Rapid Storage Technology submenu. 3. In the Intel RST interface, select Create RAID Volume. 4. Now, configure the RAID volume using the setup wizard: RAID Level: Select RAID 1 for this walkthrough. Select Disks: Use the Spacebar on your keyboard to check both NVMe SSDs you want to include. Other settings: Leave stripe size and volume name at their defaults. Finally, select Create Volume and confirm. 5. After creation, the Intel RST main screen will display your new RAID volume along with its status.At this point, your RAID 1 mirrored array is ready. However, Windows still cannot see it yet. That is because you need the VMD driver. Let us get that next. Step 3: Download and Prepare the VMD Driver (Windows) Since VMD is a hardware abstraction layer, the standard Windows installation media does not include its driver. Therefore, you must manually provide it during OS installation. Otherwise, the installer will not detect your RAID disk. 3.1 Download the Intel RST Driver Visit the official Intel Download Center to get the Intel Rapid Storage Technology (RST) driver for 12th- 15th Gen Intel platforms:🔗 Download link: Intel RST Driver (12th–15th Gen) 3.2 Extract the Driver Files Save the downloaded SetupRST.exe to your D: drive (or any accessible location). Then, open PowerShell or Command Prompt as administrator and run the following command: D: .SetupRST.exe -extractdrivers RST_DriverAfter execution, a new folder called RST_Driver will appear in the current directory. 3.3 Locate the VMD Driver The VMD controller driver is located at: RST_DriverproductionWindows10-x64DriversVMDThe key file is iaStorVD.inf.Now, copy the entire VMD folder onto your FAT32-formatted USB flash drive. You will need it during Windows installation.Important notes: This driver supports Windows 10 and Windows 11 only. Linux distributions do not have official VMD drivers. If you need RAID on Linux, consider using software RAID (such as mdadmor disable VMD mode. Step 4: Load the VMD Driver During Windows Installation Finally, it is time to install Windows with the RAID array properly recognized.4.1 Boot from your Windows 10/11 installation USB drive. Proceed through the setup until you reach the “Where do you want to install Windows?” screen.At this point, you will notice that the disk list is empty. This is expected — it happens because the VMD RAID volume is not yet recognized. 4.2 Click the Load Driver button at the bottom-left corner of the window.4.3 In the dialog that appears, click Browse. Then, navigate to your USB flash drive and locate the RST_DriverproductionWindows10-x64DriversVMD folder. Select it and click OK. 4.4 The system will scan and list available controller drivers. Select Intel RST VMD Controller (or a similarly named option), and then click Install.4.5 Once the driver loads successfully, your RAID disk will appear in the list. You can now: If the disk is unpartitioned, click New to create partitions. Select the target partition, then click Next to continue with the standard Windows installation. From here, Windows will install normally. Once complete, your RAID 1 mirrored array will be fully operational. Frequently Asked Questions (FAQ) How do I check if my RAID 1 array is working properly? Install the Intel
How to Build a RAID 1 Mirrored Array with Intel VMD on a Mini PC Read More »