2026 Smart Home Hub Build Guide: Create Your Home Smart Brain From 0 to 1
Have you ever faced these problems?
Your Samsung lights can’t be controlled with Apple HomeKit.
Cloud-based smart scenes often lag and stop working entirely when the internet goes out.
Devices from different brands work in silos, with no way to create whole-home automation.
The core solution to all these problems is building a standalone smart home hub.
We’ll start with basic principles, and walk you through the full process — from hardware selection, system installation, to scene setup.
We also include tested hardware recommendations and a pitfall checklist that 90% of beginners fall into, to help you get it right the first time.
First Things First: What Is a Smart Home Hub?
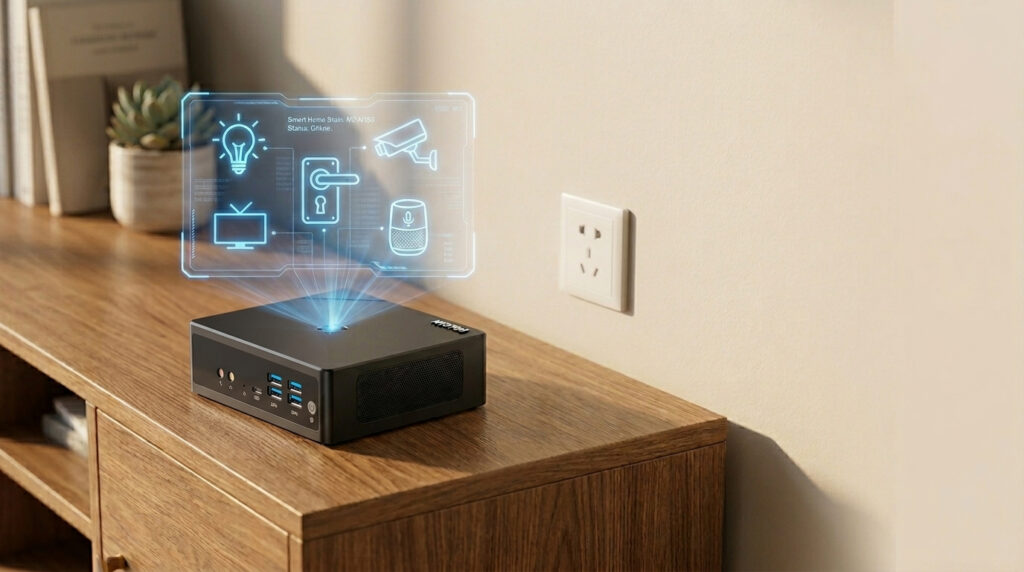
A smart home hub is the “brain” of all your connected home devices.
It receives and processes signals from all your smart devices, runs the automation rules you set, and enables cross-brand device interoperability.
Key Differences: Local Control vs Cloud Control
Most off-the-shelf smart devices rely on brand cloud servers for control.
This method has 3 critical flaws:
– They stop working when your internet cuts out
– Commands are routed through the cloud, causing frequent delays
– Your home device data is stored on third-party servers, with privacy leak risks
A local smart home hub runs all commands locally.
It works reliably even without internet access, delivers millisecond-level response times, and protects your home’s privacy at the source.
3 Core Benefits of a Smart Home Hub
– Break Brand Barriers: Unify control and automation for devices from Samsung, Apple, Google Nest, and more
– Ultimate Stability & Reliability: Runs 24/7 locally, no internet downtime, zero command lag
– Protect Home Privacy: All device data stays on-premises, no need to upload to third-party clouds
Pre-Build Basics: Core Components & Protocols Explained
Building a smart home hub doesn’t require complex technical knowledge.
You only need to understand 3 core parts: hardware host, communication protocols, and hub software.
How to Choose Hub Hardware? 3 Main Options Compared
The first question most beginners ask: What device should I use as a hub?
We’ve compared the pros and cons of 3 mainstream options to help you choose quickly:
Hardware Host | Core Advantages | Core Disadvantages | Best For |
|---|---|---|---|
Mini PC | Low power consumption, high stability, full ports, strong expandability | Slightly higher upfront cost than development boards | All beginners, especially families seeking long-term reliability |
Raspberry Pi & Other SBCs | Small form factor, low cost | Weak performance, SD card corruption risk, prone to crashing during long-term operation | Tinkerers, test scenarios with minimal devices |
NAS Network Storage | Can double as file storage | Limited performance allocation, risks of storage stability, and higher power consumption. | Existing NAS owners who only want to test a smart hub lightly |
The conclusion is clear: A Mini PC is the best choice for beginners building a smart home hub.
Mainstream Communication Protocols Explained
Smart devices communicate with the hub via protocols. Beginners don’t need to memorize complex parameters, just the core differences:
– WiFi: Highest penetration, no extra gateway needed, but can lag with many devices — ideal for large home appliances (e.g., Samsung smart refrigerators, LG smart washing machines)
– Zigbee: Low power, low latency, strong anti-interference, the top choice for smart switches and sensors — requires a matching gateway (e.g., Amazon Echo Plus, Google Nest Hub)
– Thread/Matter: New generation universal protocol, best cross-brand compatibility, the mainstream trend of the future, supported by Apple, Google, and Amazon
– Bluetooth/BLE: Ideal for short-range devices like Schlage smart door locks and Ecobee temperature sensors, with limited coverage range
Top Hub Software Recommendation for Beginners
The most popular, beginner-friendly system in the world right now is Home Assistant.
It’s 100% free and open source, supports over 10,000 smart devices and brands, has a visual interface, and is easy to use with no coding required.
Most importantly, it natively supports local operation, perfectly matching the core needs of building a smart home hub.
Golden Rules for Smart Home Hub Hardware Selection
Choosing the right hardware makes 80% of your smart home hub build successful.
For beginners, we’ve summarized 3 non-negotiable golden rules to help you avoid 90% of hardware pitfalls.
Low Power Consumption Is Always the Top Priority
A smart home hub needs to run 24/7, 365 days a year.
Power consumption directly determines your long-term running cost.
For example:
– A 6W device costs ~$3.6 per year in electricity
– A 15W device costs ~$9 per year in electricity
– A device over 30W will cost over $18 per year in electricity
Our recommendation: Prioritize devices with a TDP ≤10W, with the best value at around 6W.
Stability Is a Non-Negotiable Bottom Line
If your hub crashes, your entire smart home system goes down.
That’s why stability is more important than raw performance.
Prioritize these two types of devices:
1. Fanless passive cooling design: No mechanical wear, zero noise, no risk of crashing from fan dust buildup
2. Industrial-grade cooling design: Wide temperature operation, dust and interference resistance, ideal for long-term placement in enclosures or corners
In addition, always choose devices that support auto power-on after an outage and a watchdog function. They will restart automatically after power is restored; no manual intervention is needed.
You Must Reserve Room for Ports & Expandability
The most common mistake beginners make: Only looking at performance, ignoring ports.
As you add more smart devices to your home, you’ll need enough ports to expand functionality.
Must-have port checklist:
– At least 1 Gigabit Ethernet port (dual ports preferred, for network isolation and improved security)
– At least 2 USB 3.0 ports (for connecting Zigbee/Bluetooth gateways, backup storage)
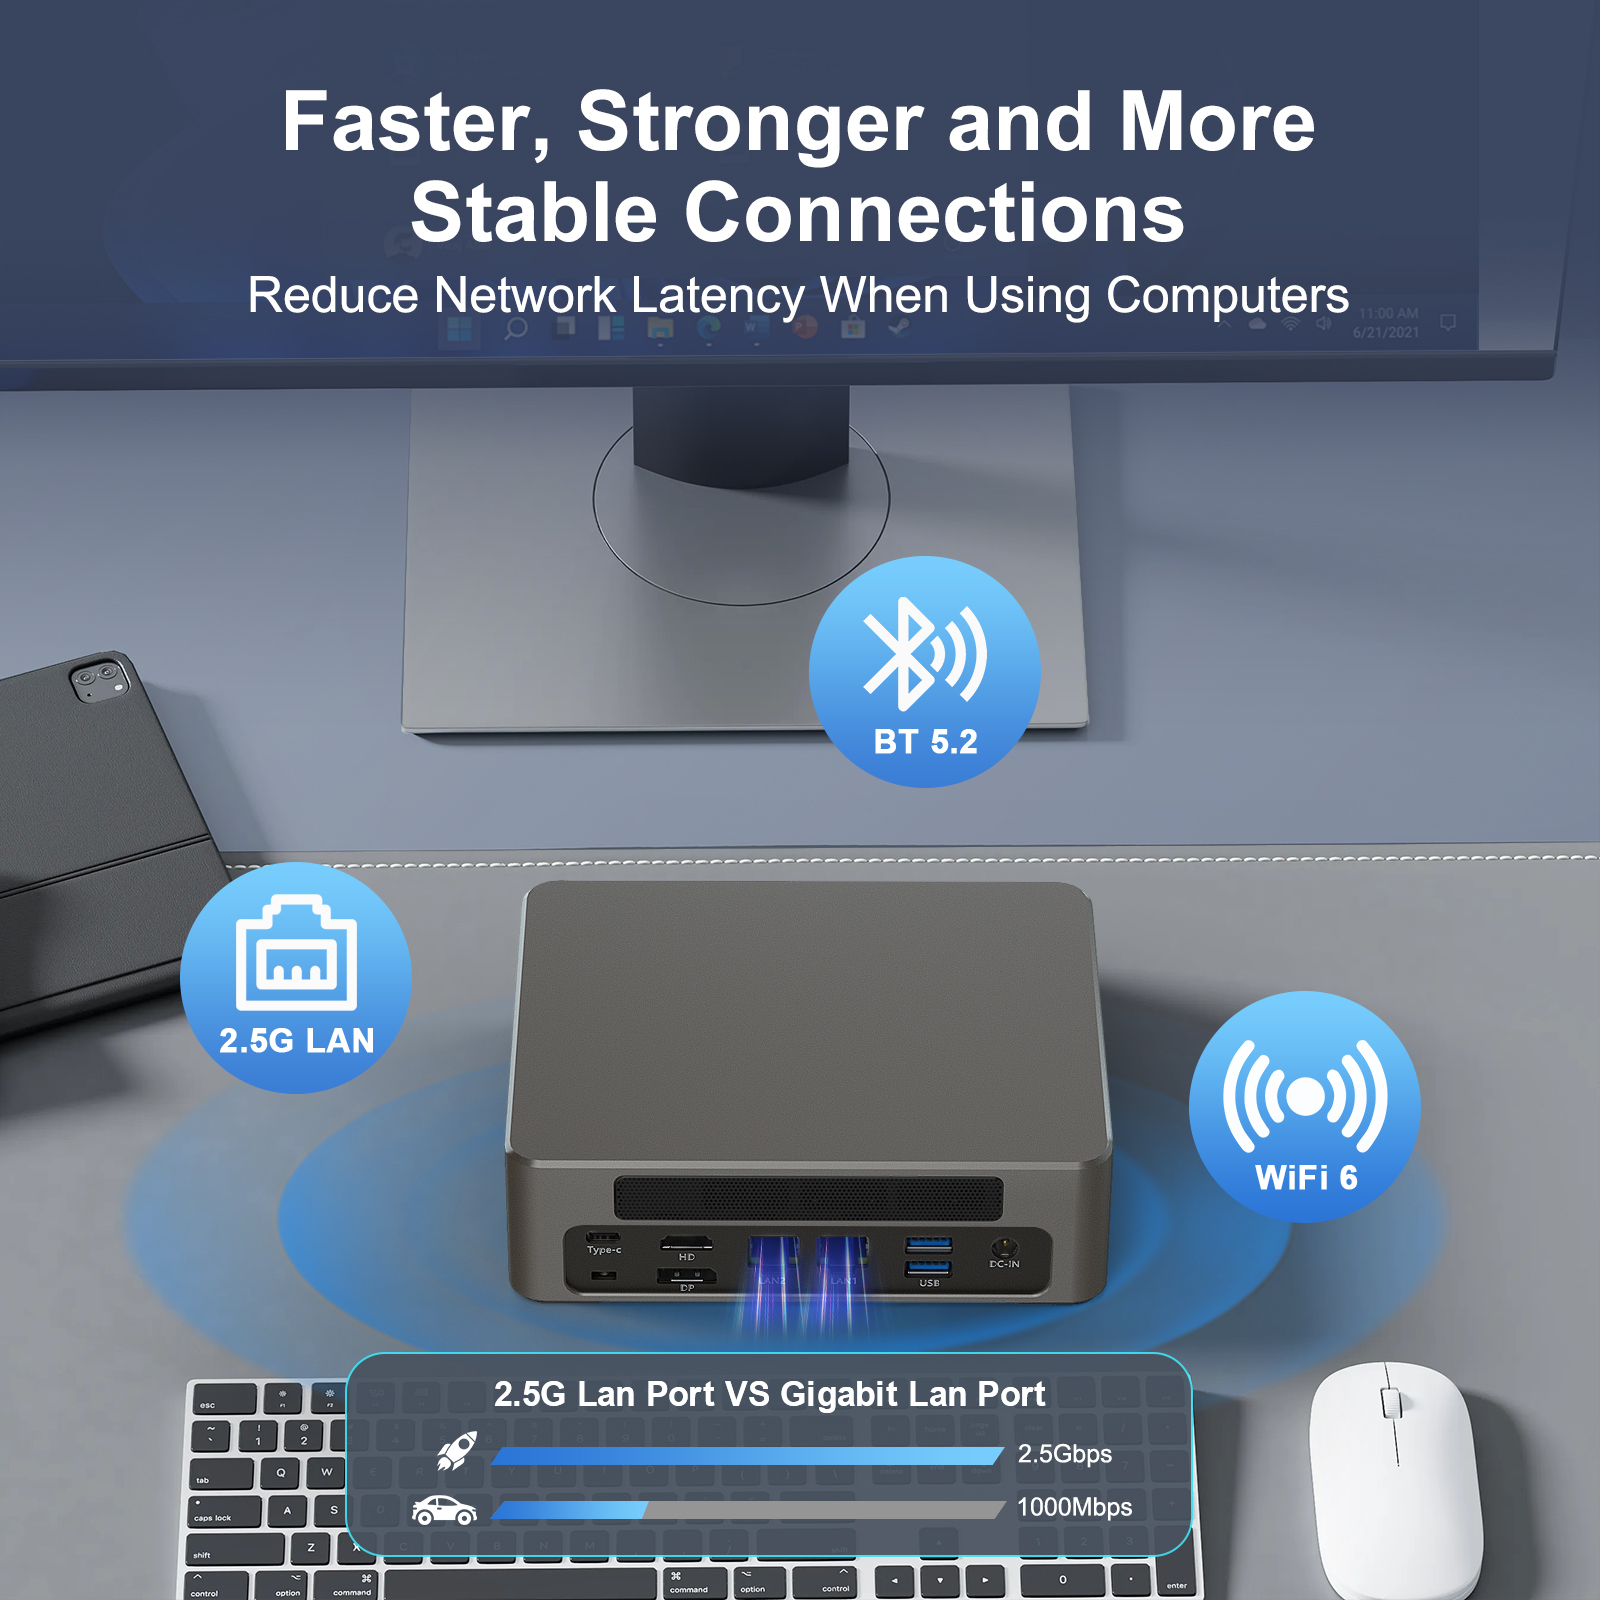
– Wireless module supporting WiFi 6/Bluetooth 5.2 or higher (for new device compatibility and better coverage)
– Upgradable RAM and storage slots (no need to replace the whole device when you add more devices later)
Step-by-Step: Software Installation & Initial Setup
Once you’ve chosen your hardware, we can start installing the hub system.
We’ll use the most beginner-friendly Home Assistant OS as an example, no coding required, completed in 5 steps.
1. Prepare Installation Media
Get a blank 8GB+ USB drive, download the official Rufus flashing tool, and the Home Assistant OS image matching your hardware.
2. Flash the Image
Open Rufus, select your USB drive, import the downloaded image file, and click Start to flash.
Safely eject the USB drive once flashing is complete.
3. Boot & Install on Your Hardware
Plug the flashed USB drive into your Mini PC, connect a monitor, keyboard, and Ethernet cable, then power on and enter the BIOS.
Set the USB drive as the first boot option, save and restart. The system will complete installation automatically.
4. System Initialization
After installation is complete, unplug the USB drive and restart the device.
On a computer/phone browser on the same local network, enter `homeassistant.local:8123` to access the system initialization interface.
Follow the prompts to set up your admin account, password, and complete basic configuration.
5. Set Up Automatic Backups
This is the step most beginners skip.
Go to system settings, enable automatic backup, and set weekly automatic backups to an external USB drive or cloud storage.
If the system has issues, you can restore all configurations with one click, no need to start over.
Hands-On Guide: Device Onboarding & Your First Automation Scene
With the system installed, we can connect your home smart devices to the hub, and build your first automation scene.
3 Main Device Onboarding Methods
Home Assistant supports multiple access methods. Beginners only need to master these 3 to connect 99% of devices:
1. Native Auto-Discovery
Many smart devices on the same local network will be auto-discovered by the system.
You just need to click confirm in the Integrations page, enter the device’s account password, and connect with one click (e.g., Philips Hue smart lights, Ecobee thermostats).
2. Gateway Onboarding
For Zigbee/Thread protocol devices, first plug the corresponding gateway into the Mini PC’s USB port (e.g., Sonoff ZBDongle-P, Amazon Echo Show).
Install the matching integration plugin in the system, and you can scan and connect all sub-devices very simply.
3. Third-Party Integration Onboarding
For devices from brands like Samsung, Google Nest, and Amazon, you can install the corresponding integration plugin via the HACS store.
Log in to your brand account, and you can sync all devices with one click, achieving cross-brand interoperability.
Build Your First Automation Scene in 5 Minutes
We’ll use the most common “turn on lights when door opens” as an example. Full visual operation, no line of code needed:
1. Go to the “Automations” page in the system, click Create New Automation
2. Set the trigger: When the Schlage smart door lock status changes to “Unlocked.”
3. Set the condition: Only trigger after sunset and before sunrise (no need to turn on lights whenthe door opens during the day)
4. Set the action: Turn on the living room Philips Hue main light, set brightness to 80%
5. Save the automation, test it works, and you’re done.
Security Must-Do: The Correct Way to Set Up Remote Access
Many beginners want to control home devices when they’re out, so they directly map the system port to the public internet.
This is an extremely dangerous operation, very vulnerable to hacker attacks and home privacy leaks.
There are 2 beginner-friendly correct remote access solutions:
1. Official Secure Remote Access
Home Assistant officially provides the Nabu Casa remote access service, for only $5 per month.
No complex configuration needed, one-click enable, full end-to-end encryption, safe and reliable — the top choice for beginners.
2. Self-Hosted Reverse Proxy Solution
For users with some basic knowledge, you can use tools like Cloudflare Tunnel or Tailscale to build an encrypted remote access tunnel.
No public port exposure, full encryption, maximum security, and completely free.
Tested Recommendation: Best HYSTOU Mini PC Models for Smart Home Hubs
Based on the 3 golden hardware selection rules we mentioned earlier, we’ve tested multiple mainstream Mini PC models on the market.
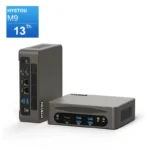
Among them, HYSTOU series models perfectly match the core needs of a smart home hub. For different beginner users, we have 3 targeted recommendations.
This is our most recommended beginner model, with a perfect balance of performance, power consumption, and price.
– Core Specs: Intel N150 4-core 4-thread processor, TDP only 6W, annual electricity cost as low as ~$3.6
– Expandability: DDR5 RAM slots (max 32GB), M.2 NVMe + SATA dual storage bays
– Port Configuration: Dual Gigabit Ethernet ports, 4x USB 3.0 + 2x USB 2.0 ports, upgradable WiFi 6 + Bluetooth 5.2
– Core Advantages: Ultra-low power consumption, dual ports for IoT network isolation, enough ports for multiple gateways, sufficient performance for 100+ devices (e.g., Philips Hue, Schlage, Ecobee), and common plugins — the best choice for most families.
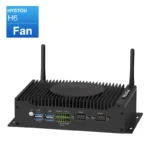
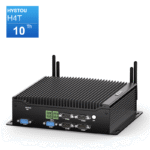
If you have zero tolerance for noise and want to place the hub in your living room, bedroom, or other quiet environments, this model is your top choice.
– Core Specs: Intel J5005 4-core 4-thread processor, TDP only 10W, fanless passive cooling design, zero noise operation
– Expandability: Single DDR4 RAM slot (max 32GB), M.2 + MSATA + SATA triple storage bays
– Port Configuration: Dual Gigabit Ethernet ports, 2x USB 3.0 + 2x USB 2.0 ports, 2x RS232 COM ports, standard WiFi + Bluetooth
– Core Advantages: Fanless zero noise, full aluminum alloy body for dust and interference resistance, stable 24/7 operation — ideal for minimal smart home scenarios with 30-50 devices (e.g., a few Philips Hue lights, Amazon Echo devices).
7 Mistakes 90% of People Make
We’ve sorted out the 7 most common pitfalls beginners make when building a smart home hub, to help you avoid them in advance:
1. Using an SD Card as Main Storage: SD cards have short read/write lifespans and are prone to corruption, leading to system crashes and configuration loss. Always use an SSD solid state drive.
2. Blindly Chasing High Performance: A smart home hub usually runs at less than 10% CPU load daily. Excess performance only increases power consumption and cost, completely unnecessary.
3. Ignoring Automatic Backups: Many people don’t back up their configurations until the system crashes. Always enable weekly automatic backups.
4. Directly Mapping Public Ports: This operation fully exposes your home network, extremely vulnerable to hacker attacks. Always use an encrypted remote access solution.
5. Connecting All Devices at Once: Beginners are recommended to first connect 3-5 core devices (e.g., 1 Schlage door lock, 2 Philips Hue lights), get one automation scene working, then expand gradually. This avoids being unable to find the cause of problems.
6. Using a Low-Quality Power Supply: Low-quality power supplies cause frequent restarts and crashes. Always use the original matching power supply to ensure stable power.
7. Skipping Network Isolation: Putting smart devices on the same network segment as your home computers and phones risks compromising your entire home network if a device is hacked. If you have dual ports, always set up IoT network isolation.
Advanced Expansion: What Else Can Your Smart Home Hub Do?
After building your basic smart home hub, you can unlock more advanced features to make your home smart brain even more powerful:
– Use Node-RED to build more complex automation logic, create personalized custom scenes (e.g., “Adjust Ecobee thermostat to 24°C and turn on Philips Hue lights when arriving home”)
– Install AdGuard Home to build whole-home ad blocking, filter ads and malicious websites for all devices
– Use InfluxDB + Grafana to build a visual dashboard for home energy consumption, temperature, humidity, and more
– Deploy Frigate NVR for local smart video surveillance, person detection, face recognition, no cloud subscription needed
– Build a local voice assistant (e.g., Rhasspy) for offline voice control, full privacy protection, compatible with Philips Hue, Ecobee, and other devices
Final Summary
Building a dedicated smart home hub isn’t as complicated as you think.
Choose a low-power, high-stability Mini PC, use the Home Assistant system, and even beginners can complete the build from 0 to 1.
It not only helps you break brand barriers and achieve whole-home smart automation (e.g., interoperability between Samsung, Apple, and Google Nest devices) but also brings you a stable, secure, and private smart living experience.
If you don’t know how to choose a configuration or encounter problems during the build, leave a comment below, and we’ll answer them one by one.

HYSTOU
HYSTOU has established its R&D headquarters in Shenzhen, drawing on over a decade of experience. Our core team members, who previously served at renowned companies such as Inventec and Quanta Computer, form the backbone of our technical expertise. With robust R&D and innovation capabilities, we remain steadfast in our commitment to pursuing excellence in the field of technology products.