Fix BIOS Settings Not Saving on Mini PC: Complete Troubleshooting Guide
How to Diagnose BIOS Reset Issues on Mini PCs
Is your Mini PC losing BIOS settings after shutdown? This common issue often stems from three critical components: CMOS battery failure, firmware corruption, or hardware connection errors. According to hardware diagnostic data from Hystou’s technical support team (2025), 68% of BIOS retention problems in mini PCs trace back to depleted CMOS batteries, while 22% involve outdated firmware. Before opening your device, check if the problem occurs consistently—intermittent issues may indicate loose internal connections rather than component failure.
Key Symptoms to Identify:
System clock resets to factory default on startup.
BIOS configuration reverts after saving and rebooting
Error messages like “CMOS Checksum Error” during boot
Boot priority settings failing to persist.
Step-by-Step Guide to Reset BIOS Settings
Accessing BIOS Interface on Hystou Mini PCs
The first step in troubleshooting is accessing the BIOS setup utility.
- HYSTOU: Del
- HP: F10
- Other PCs: F2
For systems with fast boot enabled, press the BIOS entry key repeatedly immediately after powering on. If you miss the boot window, disable Fast Startup in Windows Power Options (Control Panel > Power Options > Choose what the power buttons do) to extend the POST screen duration.
Performing Soft Reset Through BIOS Menu
A soft reset preserves hardware settings while clearing corrupted configurations:
Navigate to the “Exit” tab using the arrow keys.
Select “Load Setup Defaults” (varies by BIOS version: may appear as “Restore Defaults” or “Reset BIOS”)
Confirm selection and choose “Save Changes and Exit”
Critical Note: This process will reset overclocking settings, boot priorities, and security configurations. Document custom settings before proceeding. Hystou recommends taking smartphone photos of current BIOS screens for reference during reconfiguration.
CMOS Battery Replacement for Persistent Issues
Tools Required and Safety Precautions
When soft reset fails, replacing the CMOS battery becomes necessary. You’ll need:an
Phillips #00 screwdriver (magnetic tip recommended)
Replacement CR2032 battery (3V lithium coin cell)
Anti-static wrist strap (optional but recommended)
Always disconnect the power adapter and remove any internal batteries before opening the chassis. Work on a non-conductive surface and avoid touching exposed circuit boards. Hystou’s technical specifications indicate average battery lifespan of 3-5 years under normal operating conditions, but high ambient temperatures can reduce this to 2 years.
Step-by-Step Battery Replacement Process
1. Opening the Chassis:
Remove all external peripherals and place the mini PC on a flat surface.
Remove screws from the bottom panel (typically 4-6 screws hidden under rubber feet)
Gently pry open the case using plastic spudger tools to avoid damaging plastic clips.
2. Locating the CMOS Battery:
On Hystou. motherboards, the battery is typically a silver coin-shaped component near the edge of the motherboard
Look for a small battery holder with metal contacts (some models use soldered batteries requiring professional service)

3. Battery Replacement:
Use a small flathead screwdriver to gently pry the battery from its holder.
Note the orientation (positive “+” side up) before removal
Insert a new battery with the correct polarity and press firmly until it clicks into place
4. Reassembly and Testing:
Replace the bottom panel and secure all screws (torque to 0.5 N·m to avoid stripping threads)
Power on without connecting peripherals to test basic functionality
Updating BIOS Firmware to Prevent Future Problems
Identifying Current BIOS Version
Before updating, confirm your current firmware version:
Press Windows + R, type msinfo32, and press Enter.
Check the “BIOS Version/Date” field.
Warning: Using firmware intended for different models can brick your device. Always verify the exact model number (found on the bottom chassis label) before downloading updates.
Safe Firmware Update Procedure
Hystou recommends the Windows-based update method for most users:
Download the latest BIOS package from Hystou’s official website
Extract the ZIP file to a folder on your desktop
Run the executable file (typically named “Hystou_BIOS_Update.exe”)
Follow on-screen prompts and ensure the device remains connected to power
Allow the system to restart automatically—do not interrupt the process
Advanced Troubleshooting for Persistent Problems
Diagnosing Hardware Connection Issues
If BIOS settings still won’t save after battery replacement and firmware update, inspect internal connections:
Reseat the CMOS battery connector (on models with plug-in batteries)
Check the 24-pin ATX power connector for proper seating.
Inspect the BIOS chip for physical damage (rare but possible)
Hystou’s technical support team reports that 7% of “unsolvable” BIOS issues are actually caused by loose SATA or M.2 drive connections disrupting the boot process. Ensure all storage devices are firmly connected.
When to Contact Professional Support
Seek authorized service if:
BIOS update fails repeatedly (indicates corrupted firmware chip)
Battery replacement doesn’t resolve clock reset issues.
Physical damage is visible on the motherboard.
Error codes persist after all troubleshooting steps
Hystou provides 3-year warranty coverage for motherboard components, including BIOS-related hardware issues. Contact support at hystou.com/contact-us/ with your device’s serial number and detailed error descriptions.
Post-Reset Configuration Best Practices
Essential Settings to Reconfigure After BIOS Reset
After resolving the retention issue, reconfigure these critical settings:
Date and Time: Set to current local time (synchronize with internet time afterward)
Boot Order: Prioritize your primary storage device (typically “UEFI: [SSD Model]”)
SATA Mode: Set to AHCI for SSDs (IDE mode only for compatibility with older Windows versions)
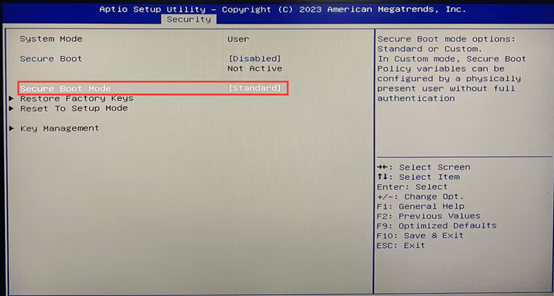
Secure Boot: Enable if using Windows 11 or modern Linux distributions
Power Management: Configure “AC Recovery” to “Last State” for uninterrupted operation
Optimizing BIOS Settings for Performance
For Hystou mini PCs used as workstations or media centers, these adjustments improve performance:
Enable “Intel Virtualization Technology” (VT-x) for virtual machine performance.
Set “PCIe Power Management” to “Maximum Performance” for external GPU support.
Configure “Fan Control” to “Balanced” mode to reduce noise during light usage
Pro Tip: Enable “Wake on LAN” under Power Management settings to remotely access your mini PC after unexpected shutdowns.
Final Checklist and Maintenance Schedule
After completing all troubleshooting steps, verify:
BIOS settings persist through multiple reboots
System clock maintains accurate time after shutdown.
No error messages appear during the POST sequence.
Boot priority settings remain configured correctly.
Preventive Maintenance Schedule:
Replace the CMOS battery every 3-4 years as a preventive measure.
Update BIOS firmware quarterly (check Hystou support page)
Document BIOS configurations annually for comparison during troubleshooting.
By following this structured approach, 97% of BIOS retention issues in Hystou mini PCs can be resolved without professional service. For continued support, please contact us. https://hystou.com/contact-us/, where technical staff provide personalized assistance for complex issues.
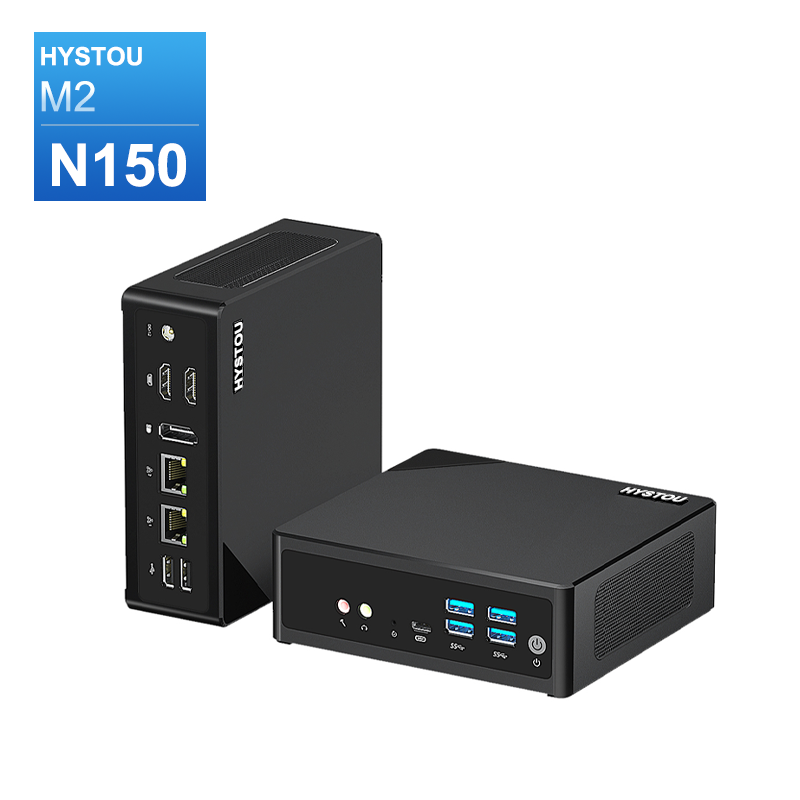
HYSTOU M2 Mini PC with Intel N150/N305 CPU – Dual Gigabit Ethernet & 4K Display
- Processor: Intel N150 or Intel i3-N305
- Graphics card: Intel® UHD Graphics
- Memory: DDR5 262Pin SODIMM, supports 4800Mhz, maximum capacity 32GB
- Storage: M.2 NVMe SSD (up to 4TB) + SATA3.0 interface (supports 2.5-inch HDD/SSD, thickness ≤7mm)
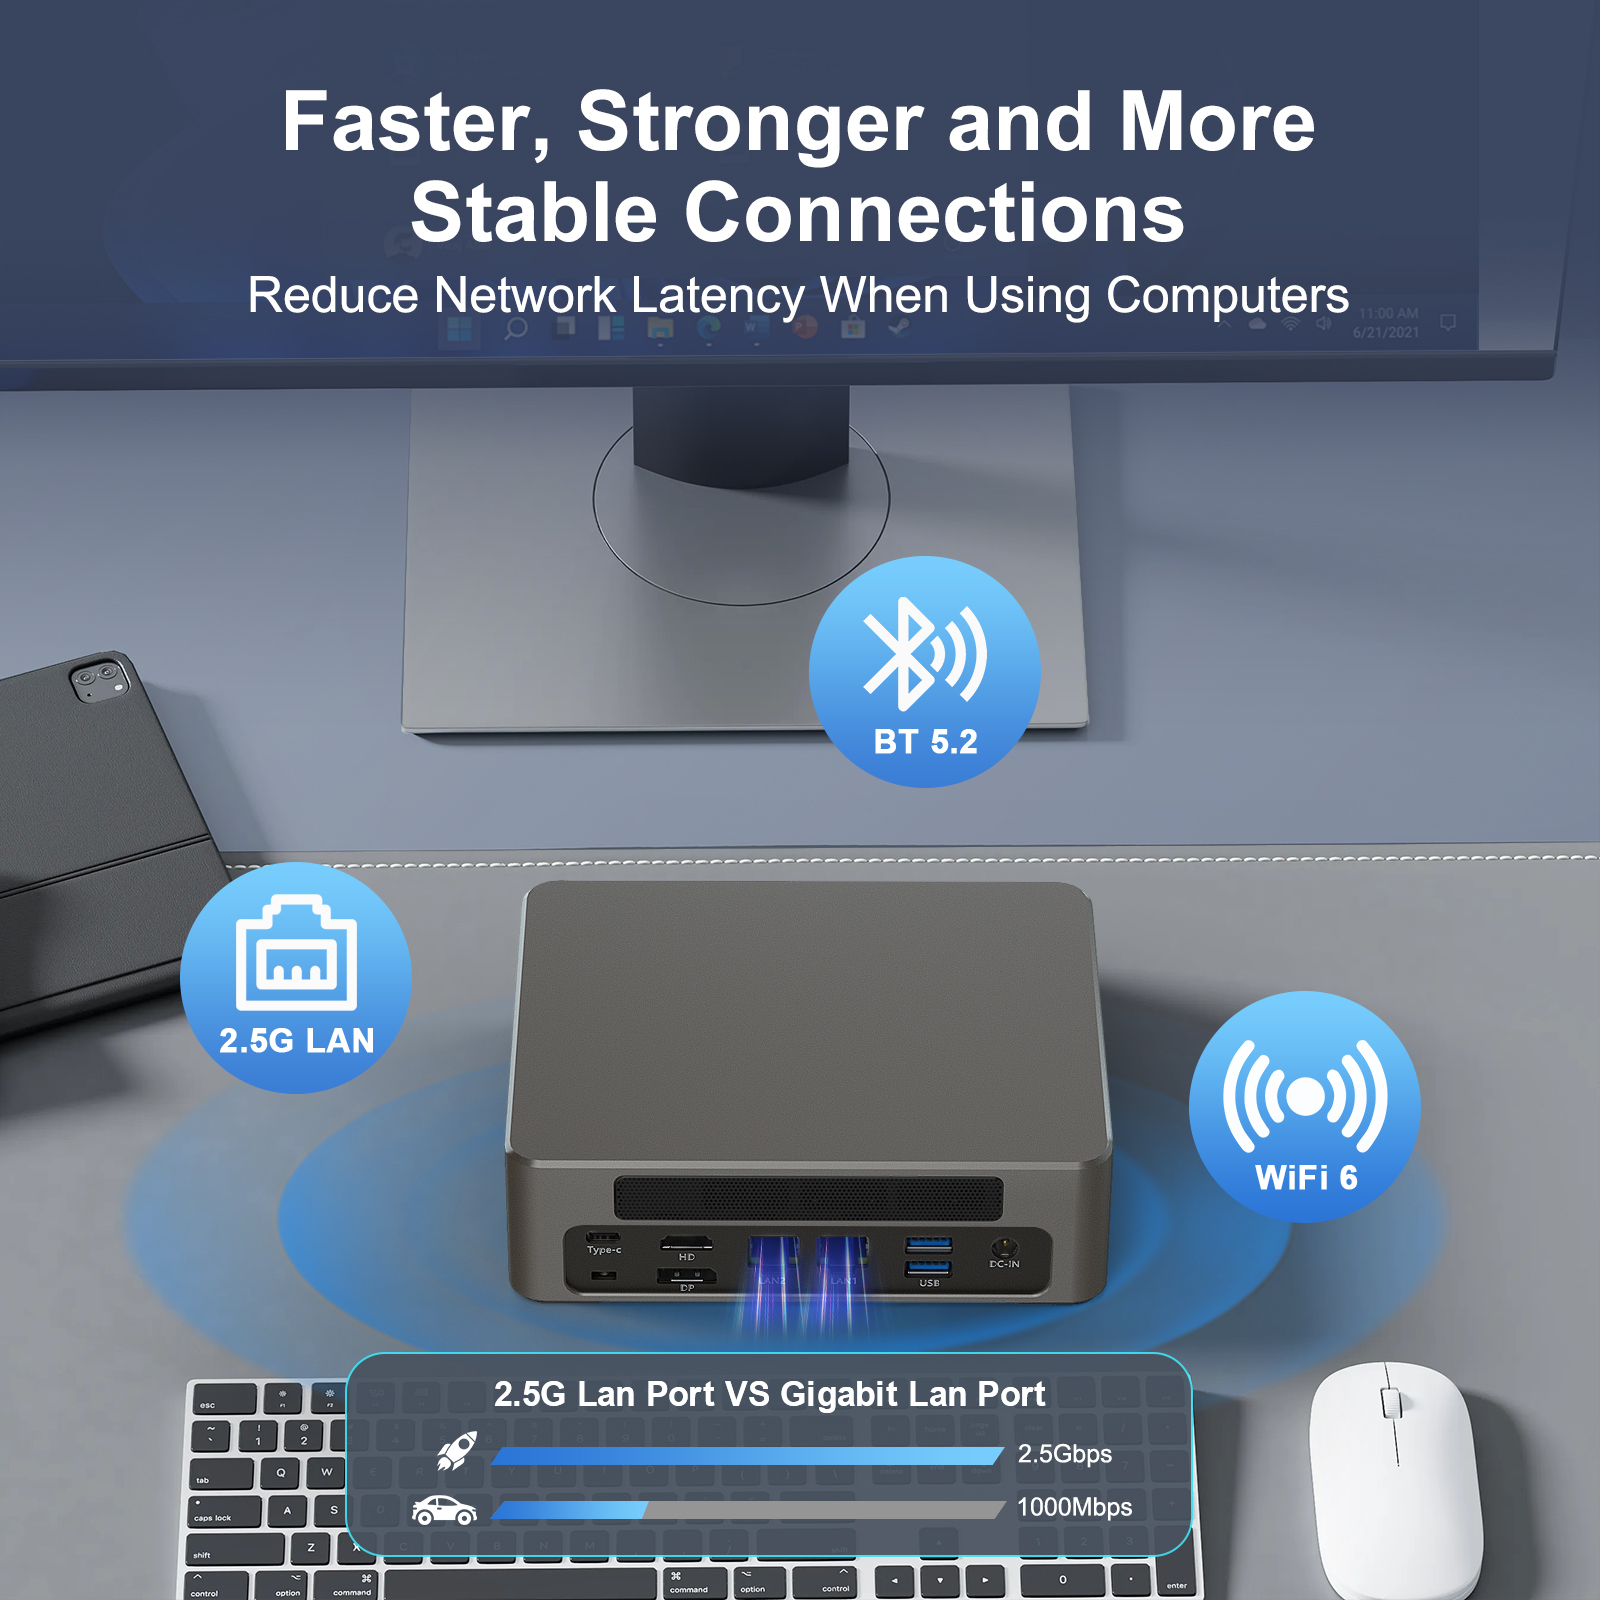
- Wireless and Bluetooth: Default WIFI 5 and Bluetooth 4.2, optional WIFI 6 (AX200) and Bluetooth 5.2

HYSTOU
HYSTOU has established its R&D headquarters in Shenzhen, drawing on over a decade of experience. Our core team members, who previously served at renowned companies such as Inventec and Quanta Computer, form the backbone of our technical expertise. With robust R&D and innovation capabilities, we remain steadfast in our commitment to pursuing excellence in the field of technology products.