

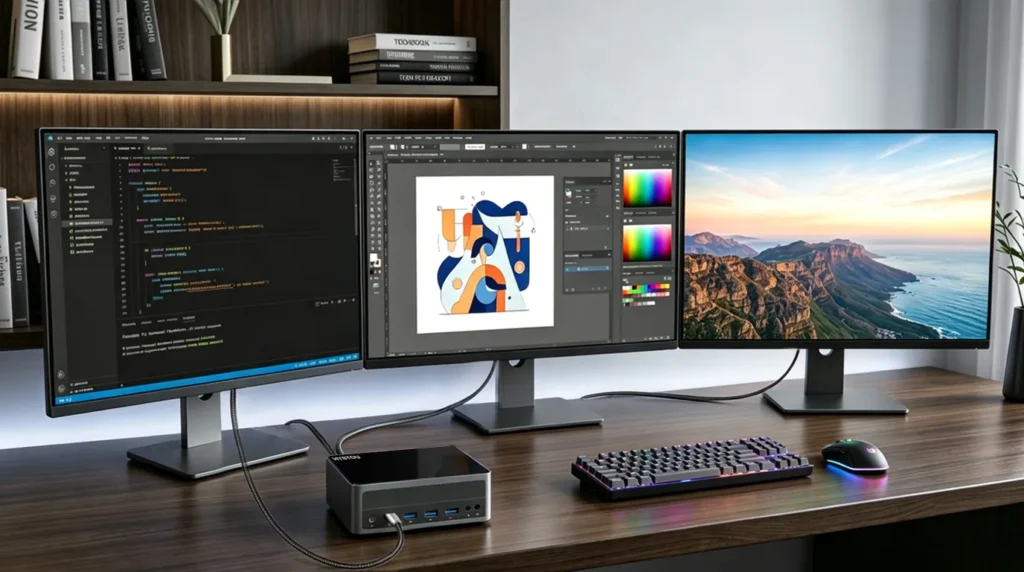
How to Set Up Multiple Monitors on Any PC or Mac: Complete Guide
How to Set Up Multiple Monitors on Any PC or Mac Announcements Buyer Guide Comprehensive Tips Occasion Product Review Q&A Tutorials Setting up a multi-monitor display is the fastest way to boost your productivity, whether you are coding, editing video, trading, or gaming. However, matching the right display cables, avoiding hardware bottlenecks, and configuring your OS settings can quickly get overwhelming. Quick Reference — Display Ports & Cables Comparison Before buying cables, you must identify the video output ports on your computer and the input ports on your monitors. Using the wrong cable version can bottleneck your monitor’s resolution and refresh rate. Interface Max Resolution & Refresh Rate Audio Support Primary Use Case Key Advantages & Features HDMI 2.0 4K @ 60Hz / 1080p @ 240Hz Yes TVs, Everyday PC, Home Office Universal compatibility on almost all displays HDMI 2.1 8K @ 60Hz / 4K @ 144Hz Yes High-end Gaming, 4K TVs High bandwidth, Variable Refresh Rate (VRR) DisplayPort 1.4 8K @ 60Hz / 4K @ 144Hz (DSC) Yes Desktop PCs, Gaming Monitors Industry standard for PC gaming; supports MST DisplayPort 2.1 Up to 16K @ 60Hz / 4K @ 240Hz Yes Modern Workstations & GPUs Extreme bandwidth for ultra-high refresh rates Thunderbolt 4 / USB4 Dual 4K @ 60Hz or Single 8K Yes MacBooks, Slim Laptops, Mini PCs Single cable for Video + High-Speed Data + Power USB-C (DP Alt Mode) 4K @ 60Hz Yes Slim Laptops, Portable Monitors Convenient; requires DP Alt Mode support on laptop VGA / DVI (Legacy) 1080p @ 60Hz (VGA) / 1440p (DVI) No (VGA/DVI) Older Legacy Equipment Only Transmits video only (no audio) Pro Tip (DisplayPort Daisy-Chaining): If your monitors support DisplayPort MST (Multi-Stream Transport), you don’t need to plug every screen into your computer. Instead, connect Computer → Monitor 1 → Monitor 2 in a single daisy chain! Step-by-Step Setup Guides by Device Type Desktop PC / Tower Setup Desktop PCs offer the highest performance and display flexibility, but port placement is the #1 mistake users make.Crucial Desktop Rule: If your PC has a dedicated Graphics Card (NVIDIA GeForce or AMD Radeon), ALWAYS plug your cables into the GPU ports located horizontally lower on the back of the case. Do NOT use the vertical motherboard ports at the top, or your monitors will remain pitch black! Setup Steps: Connect primary and secondary monitors directly into the graphics card ports using DP or HDMI cables. Turn on all displays and power on your desktop. Right-click anywhere on the Windows desktop and select Display settings. Click Identify to see which screen corresponds to 1, 2, or 3. Click and drag the screen diagrams to match your exact physical desk arrangement. Scroll down to Multiple displays, choose Extend these displays, and set your main display by checking Make this my main display. Apple Mac Setup (MacBook & Mac Mini) macOS handles external monitors smoothly, but you must keep Apple Silicon hardware display limits in mind. Apple Silicon Hardware Limit Warning: Base Chips (M1, M2, M3, M4): Native support for ONE external display (M3/M4 MacBooks support a 2nd screen only when the laptop lid is closed). Pro / Max / Ultra Chips: Native support for 2 to 8 external displays depending on your chip tier. Workaround for Base Chips: To bypass the 1-monitor hardware limit on base MacBooks, you must use a DisplayLink-certified adapter/docking station and install the DisplayLink Manager software. Setup Steps: Connect your displays using Thunderbolt, USB-C, or built-in HDMI ports. Click the Apple Menu () > System Settings > Displays. If a monitor is not recognized, press and hold the Option key to make the Detect Displays button appear. Click Arrangement and drag the display icons to mirror your desk layout. Uncheck Mirror Displays to activate Extended Desktop mode. Drag the white top menu bar to whichever display you want to set as your primary screen. Windows Laptop Setup Because slim laptops have limited ports, achieving a multi-monitor layout often requires extra planning.Check Your USB-C Port: Not all USB-C ports output video. Look for a Thunderbolt icon or a DisplayPort icon next to the port. If it only has a battery or standard USB icon, it only supports charging or data, not external monitors. Setup Steps: Plug your primary monitor into your laptop’s built-in HDMI or full-function USB-C port. For additional monitors, connect a Thunderbolt Dock or USB-C Multiport Adapter. Open Settings > System > Display in Windows. Select Extend these displays under the Multiple displays dropdown. Reorder the screens to align with your setup, ensuring your laptop screen and external monitors transition smoothly as you move your mouse. Mini PC Setup Mini PCs are compact productivity powerhouses that frequently feature surprisingly rich display I/O options (often dual HDMI or HDMI + DP + USB-C). Setup Steps: Identify your Mini PC’s display outputs. Many modern Mini PCs feature a combination of HDMI, DP, and USB-C ports. Plug one cable into each available display output port and run them to your respective monitors. Power on all devices. Windows or Linux will auto-detect the connected hardware. Go to Display Settings, arrange the display orientation, set your primary display, and adjust resolution options to fit each screen’s native specs. Display Settings & Calibration Explained Once your hardware is plugged in, fine-tuning your display settings guarantees sharp text and buttery-smooth visuals. Extend These Displays (Recommended): Creates one giant continuous workspace across all monitors. Windows and apps can be dragged freely between screens. Duplicate These Displays (Mirroring): Clones the exact same visual onto every monitor. Perfect for boardroom presentations, teaching, or streaming setups. Show Only on 1 / Show Only on 2: Deactivates unused screens. Ideal when gaming on a single primary monitor or running a laptop plugged into a desktop screen with the lid closed. Resolution & Scaling Calibration: Always set each monitor to its Native Resolution (e.g., 3840×2160 for 4K). If text looks too small on high-density monitors, adjust Scale (e.g., 125% or 150%) under Windows Display Settings instead of reducing resolution. Refresh Rate Tuning: Go
How to Set Up Multiple Monitors on Any PC or Mac: Complete Guide Read More »