How to Create a Bootable USB from an ISO File for Your Mini PC

You’ve just unboxed your sleek new Mini PC, only to realize it arrives without an operating system. Or maybe you’re eager to switch from Windows to Linux for your home theater setup. Either way, that tiny device sitting on your desk needs one crucial thing before it can spring to life: a bootable USB drive. Unlike traditional desktops with optical drives, Mini PCs rely entirely on USBs for OS installation—making this skill essential for every Mini PC owner.
This guide will transform you from a novice to a confident bootable USB creator. We’ll start with the basics of ISO files and bootable drives, walk through gathering your tools, provide step-by-step instructions using the industry-standard Rufus tool, and finally show you how to launch your new OS on your Mini PC. Let’s dive in.
What Are ISO Files and Bootable USB Drives?
Before we start clicking buttons, let’s clarify what we’re actually creating. Imagine you need to install Windows or Ubuntu on your Mini PC. The operating system comes as an ISO file—a complete digital replica of a physical installation disc. Think of it as a virtual DVD stored on your computer, with the exact same files and structure as the physical disc, but compressed into a single .iso file. These files are how Microsoft, Canonical, and other software companies distribute large operating systems and software packages.
But here’s the critical point: simply copying that ISO file to a USB drive won’t work. Your Mini PC won’t recognize it as a bootable device. A bootable USB is special because it’s been configured to act like a startup disk. The USB drive’s firmware is modified so your computer’s BIOS or UEFI recognizes it as a valid boot device, just like an internal hard drive or traditional optical drive. This process writes the ISO’s contents in a specific partition structure that your Mini PC can read during startup—essential for installing a new operating system or running diagnostic tools.

What You'll Need Before Starting
Gather these items before beginning:
USB Flash Drive: Minimum 8GB capacity (16GB recommended) to accommodate modern OS files. Critical warning: The entire drive will be erased during setup, so back up any important files first!
ISO File: Your operating system of choice. For Windows 11, download directly from Microsoft’s official site. For Linux distributions like Ubuntu, get the latest LTS version from ubuntu.com.
Working Computer: To create the bootable USB (Windows, macOS, or Linux).
Your Mini PC: The target device where you’ll install the OS.
For software, we recommend two reliable free tools:
Rufus (Windows): Lightweight, fast, and specifically optimized for Windows ISOs. It handles UEFI configurations perfectly for modern Mini PCs.
BalenaEtcher (Windows/macOS/Linux): Exceptionally user-friendly with a beautiful interface, ideal for beginners and Linux distributions.
This tutorial focuses on Rufus due to its advanced features and widespread use in technical communities.
Step-by-Step: Creating Your Bootable USB with Rufus
1. Download and Launch Rufus
Visit the official Rufus website at rufus.ie to download the latest version. Always get software directly from official sites to avoid malware.
Insert your USB drive into an available port on your working computer.
- Double-click the downloaded Rufus executable. Windows may prompt for administrator privileges—click “Yes” to proceed.
2. Configure Your Settings
When Rufus launches, you’ll see a straightforward interface with several key sections:
Device Selection: Ensure your USB drive is selected from the dropdown menu. Rufus usually detects it automatically, but double-check the drive letter and size to avoid overwriting the wrong device.
Boot Selection: Click the “SELECT” button and navigate to your downloaded ISO file. Select it and click “Open.”
Partition Scheme & Target System: For most modern Mini PCs (manufactured 2017 onwards), leave the default settings: GPT partition scheme and UEFI (non-CSM) target system. This configuration works with the latest UEFI firmware found in Mini PCs from Intel NUC, ASUS, and other major brands.
Unsure about your Mini PC’s firmware type? Check the technical specifications on the manufacturer’s website or consult your user manual. Most Mini PCs built after 2015 support UEFI.
Volume Label: You can customize this (e.g., “WIN11-INSTALL”) or leave the default.
Leave all other settings at their defaults unless you have specific requirements.
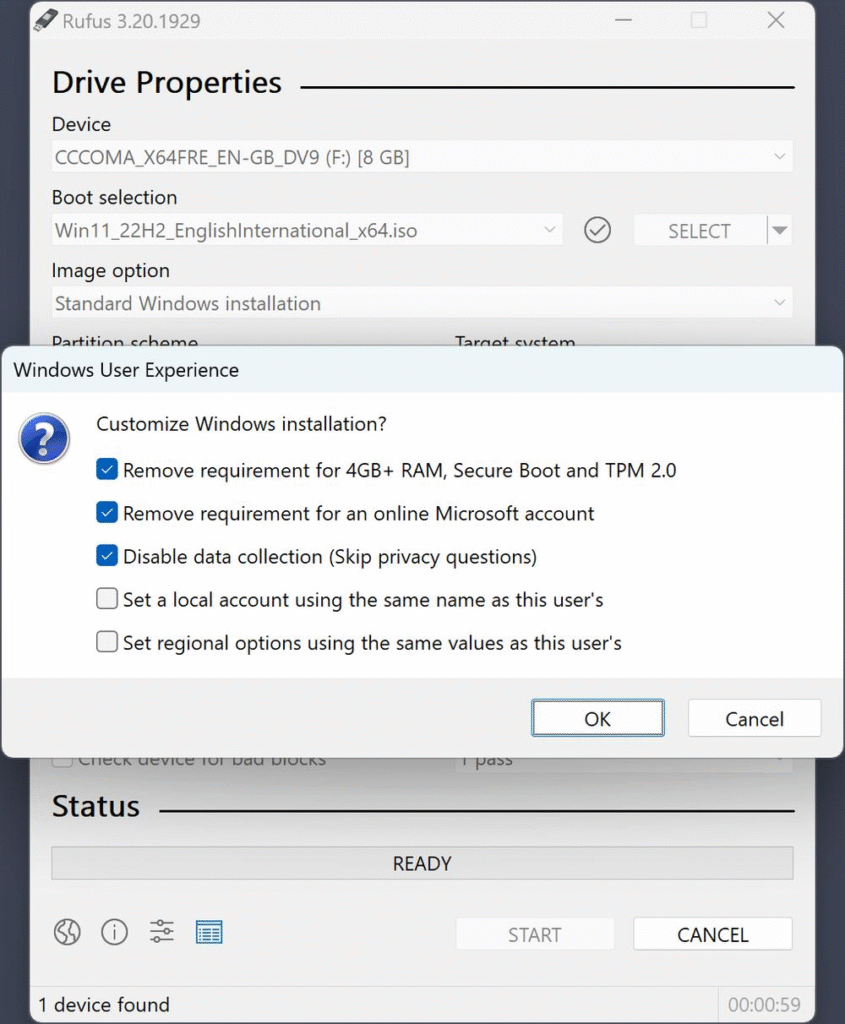
3. Create Your Bootable Drive
Click the “START” button. Rufus will display a warning that all data on your USB drive will be destroyed. Confirm you’ve backed up important files, then click “OK.”
The tool will now:
Format the USB drive.
Download necessary boot files (if required)
Write the ISO image to the drive.
Verify the written data

Wait for the process to complete—this typically takes 5-15 minutes, depending on your USB speed and ISO size. You’ll see a “READY” status when finished.
Safely eject the USB drive using the system tray icon on Windows or drag it to the Trash on macOS.
How to Boot Your Mini PC from the USB Drive
With your bootable USB ready, it’s time to get that OS installed on your Mini PC. This process involves accessing your Mini PC’s BIOS or UEFI settings to prioritize the USB drive during startup.
Access the Boot Menu
Insert the bootable USB into your Mini PC.
Power on the device. As soon as you see the manufacturer logo (or even just before), start pressing the boot menu key repeatedly. This key varies by manufacturer:
Brand | Boot Menu Key | BIOS Setup Key |
|---|---|---|
Intel NUC | F10 | F2 |
ASUS | F8 | Del or F2 |
HP | F9 | F10 |
Lenovo | F12 | F2 |
F11 | Del |
If you miss the timing, simply restart your Mini PC and try again. The window to press the boot key is usually only 2-3 seconds.
Configure Boot Settings
Once you access the BIOS/UEFI interface, you’ll need to ensure your system is set to boot from USB. Here’s what to look for:
Boot Mode: Confirm your Mini PC is set to UEFI mode (not Legacy BIOS) if using a GPT-partitioned drive (our recommended method). This setting is usually found in the “Boot” or “Security” tab.
Secure Boot: Some systems with Secure Boot enabled may block unsigned operating systems (common with Linux). If you encounter issues, temporarily disable Secure Boot in the BIOS.
Boot Priority: In the boot menu, select your USB drive. It will typically appear as “UEFI: [USB Manufacturer] USB Drive” or similar. Use the arrow keys to highlight it and press Enter.
Your Mini PC will now restart and boot from the USB drive, launching the operating system installer. Follow the on-screen prompts to complete your OS installation—you’re just minutes away from a fully functional Mini PC!
Conclusion: Unlocking Your Mini PC's Potential
You’ve successfully created a bootable USB drive and learned how to use it to install an operating system on your Mini PC. This fundamental skill opens endless possibilities: transform your Mini PC into a home theater system with Kodi, set up a lightweight Linux server for development, or create a dedicated gaming machine with SteamOS. The compact design that makes Mini PCs so versatile also makes this USB boot process essential—you’re now equipped to maximize your device’s potential.
Remember that different operating systems have slightly different installation workflows, but the bootable USB creation process remains largely the same. Whether you’re installing Windows 11, Ubuntu, ChromeOS Flex, or another OS, this guide has prepared you for the critical first step.
If you encountered issues during this process, check these common solutions:
Verify your ISO file integrity using checksums from the official website.
Try a different USB port or cable.
Test with another USB drive (some older drives don’t support UEFI boot)
Update your Mini PC’s BIOS/UEFI firmware from the manufacturer’s website
Now that your Mini PC is ready for action, what will you build first? A media center? A retro gaming station? The possibilities are limited only by your imagination.

HYSTOU M9 Mini PC – Intel i5-1340P WiFi 6 Desktop Computer (8K Triple Display)
- Processor: Intel Core I5-1235U / I7-1255U / I5-1335U / I5-1340P / I7-1360P
- Graphics Card: Intel® UHD Graphics (with single-channel memory) or Intel® Iris® Xe Graphics (with dual-channel memory)
- Memory: 2×DDR5 262Pin SODIMM, maximum support 64GB
- Storage: 2×M.2 2280 NVMe SSD (NVME1 supports Gen3 X4/SATA protocol, NVME2 supports Gen4 X4 protocol, both up to 4TB) + 1×SATA3.0 interface (supports 2.5-inch HDD/SSD, up to 6TB)
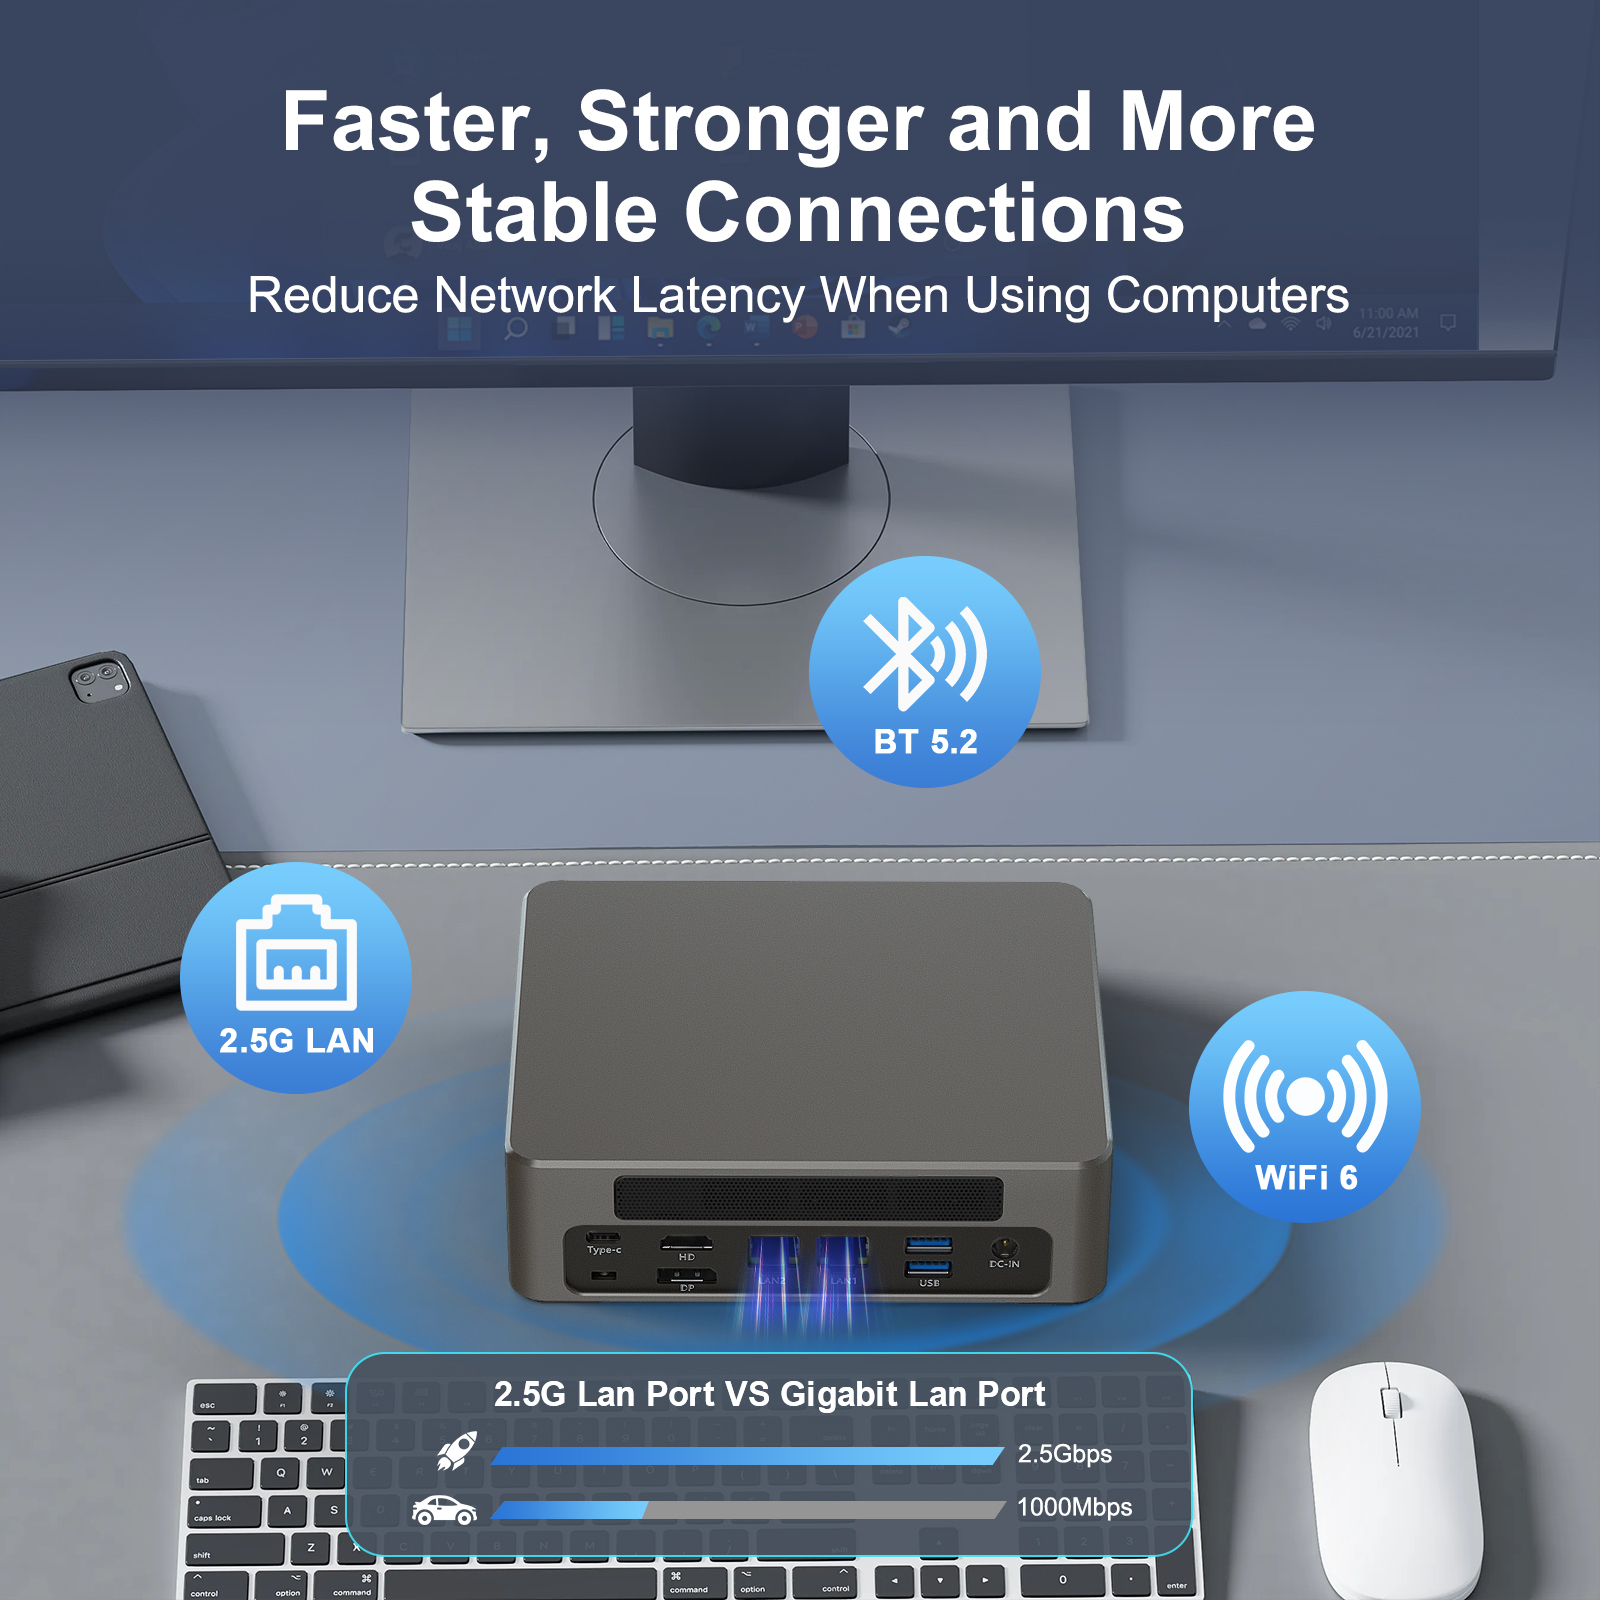
- Network: 2×RJ45 (Intel I225-V 2.5G network card), supports WiFi 6 (optional AX200) and Bluetooth 5.2

HYSTOU
HYSTOU has established its R&D headquarters in Shenzhen, drawing on over a decade of experience. Our core team members, who previously served at renowned companies such as Inventec and Quanta Computer, form the backbone of our technical expertise. With robust R&D and innovation capabilities, we remain steadfast in our commitment to pursuing excellence in the field of technology products.